Chocolate Hibiscus Cake
This post may contain affiliate links. Please read our disclosure policy.
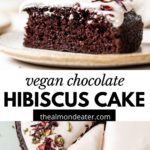
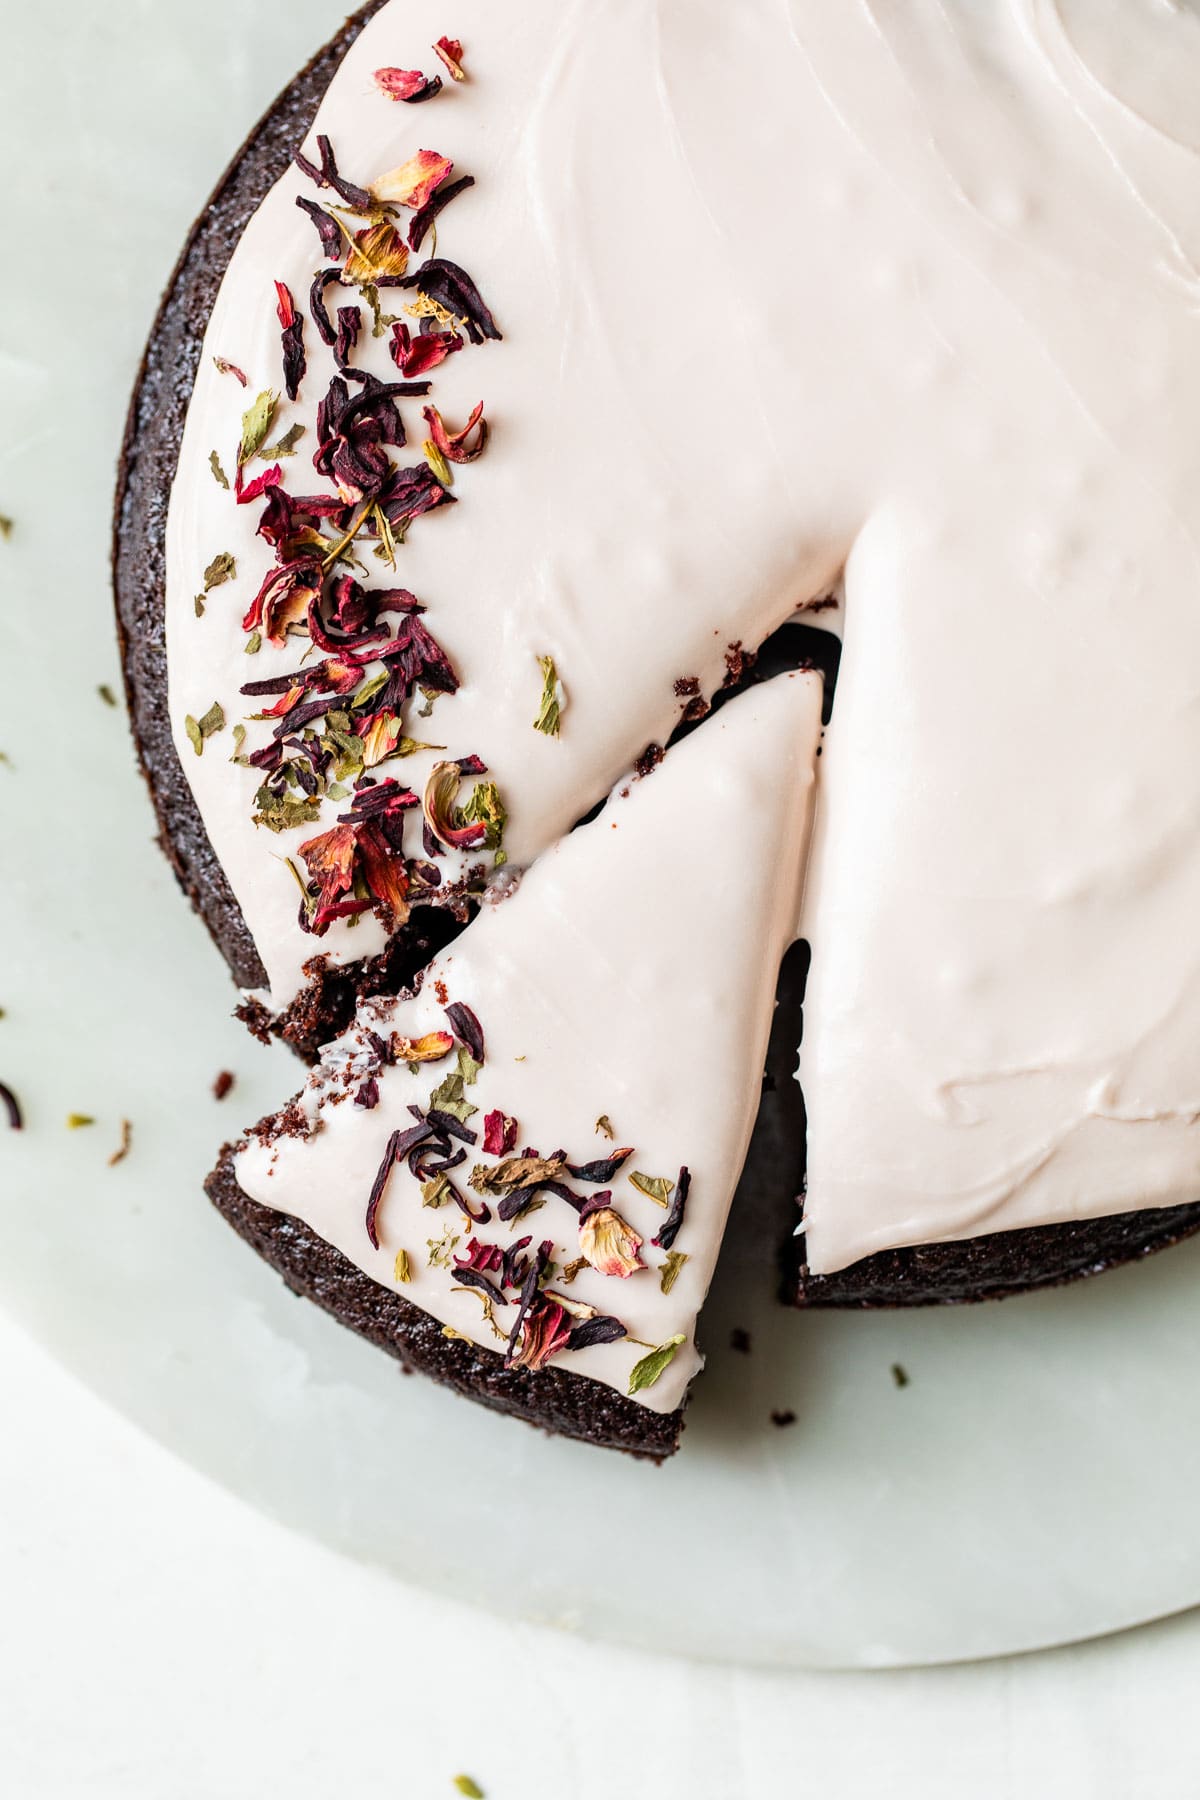
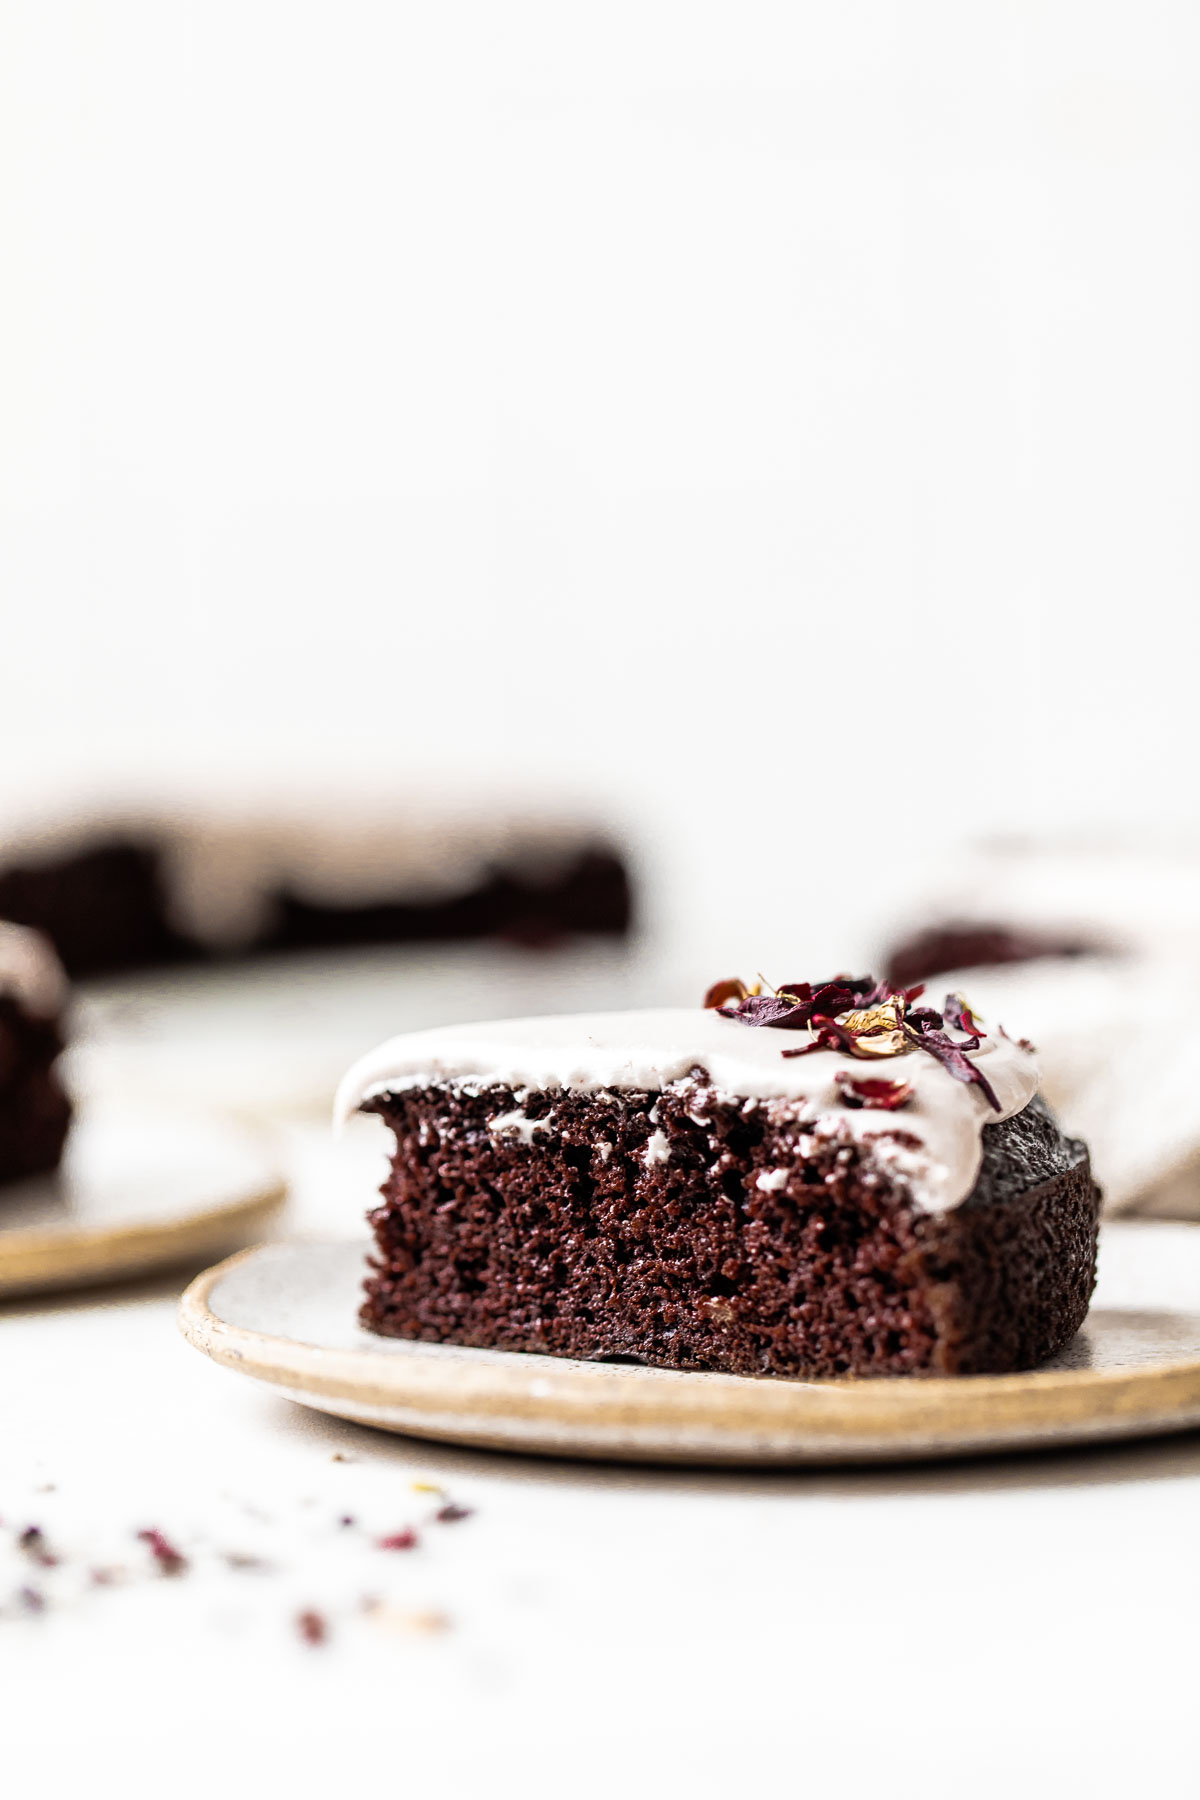
This Chocolate Hibiscus Cake combines moist vegan chocolate cake with a mildly sweet hibiscus icing made with brewed hibiscus tea. Not only is it delicious, but the icing is the most beautiful shade of pink!
Hellooooo beautiful hibiscus cake! Or should I say, hibiscus icing? This cake is the most perfect date night dessert, without being over-the-top.
The cake itself is fairly similar to my vegan chocolate cake recipe, only it’s a single layer cake which makes it even easier to prepare.
The icing is made by brewing hibiscus tea (100% inspired by my raspberry hibiscus tea), and then combining that with a little butter (regular or dairy-free) and powdered sugar. The result is a fairly mild hibiscus-flavored icing that is so delicious.
Recipe features
- A single layer chocolate cake that’s perfect moist and vegan-friendly
- Topped with a simple 3-ingredient hibiscus icing that’s made with brewed hibiscus tea
- Prep time for this cake is fairly minimal since the cake is only one layer
Hibiscus cake ingredient notes:
This cake is vegan-friendly, but I’m going to provide a few substitutions in case you need them.
- Flour: I only tested this cake using all purpose flour, but you can probably sub gluten free 1:1 baking flour to keep it gluten free. Do NOT try using almond flour or coconut flour — the measurements won’t work.
- Sugar: Most of my cake recipes call for cane sugar; the only sugar substitution I’d use is coconut sugar.
- Butter: Can use regular or dairy-free — make sure it’s salted!
- Milk: ANY kind of milk — I almost always use almond milk or oat milk
- Hibiscus tea: I used hibiscus tea bags, but loose leaf tea works too; It’s best if you make the tea FIRST — even before you make the cake so it has time to cool.
Step-by-step instructions
Step 1: Mix dry ingredients, then wet ingredients. Start by mixing the flour, cocoa powder, baking soda, and baking powder together in a bowl. In a separate bowl, cream the butter and sugar together, then add the milk, applesauce, vinegar and vanilla and whisk to combine.
Step 2: Combine. Add the dry ingredients in with the wet ingredients and use an electric mixer to combine until the batter is smooth.
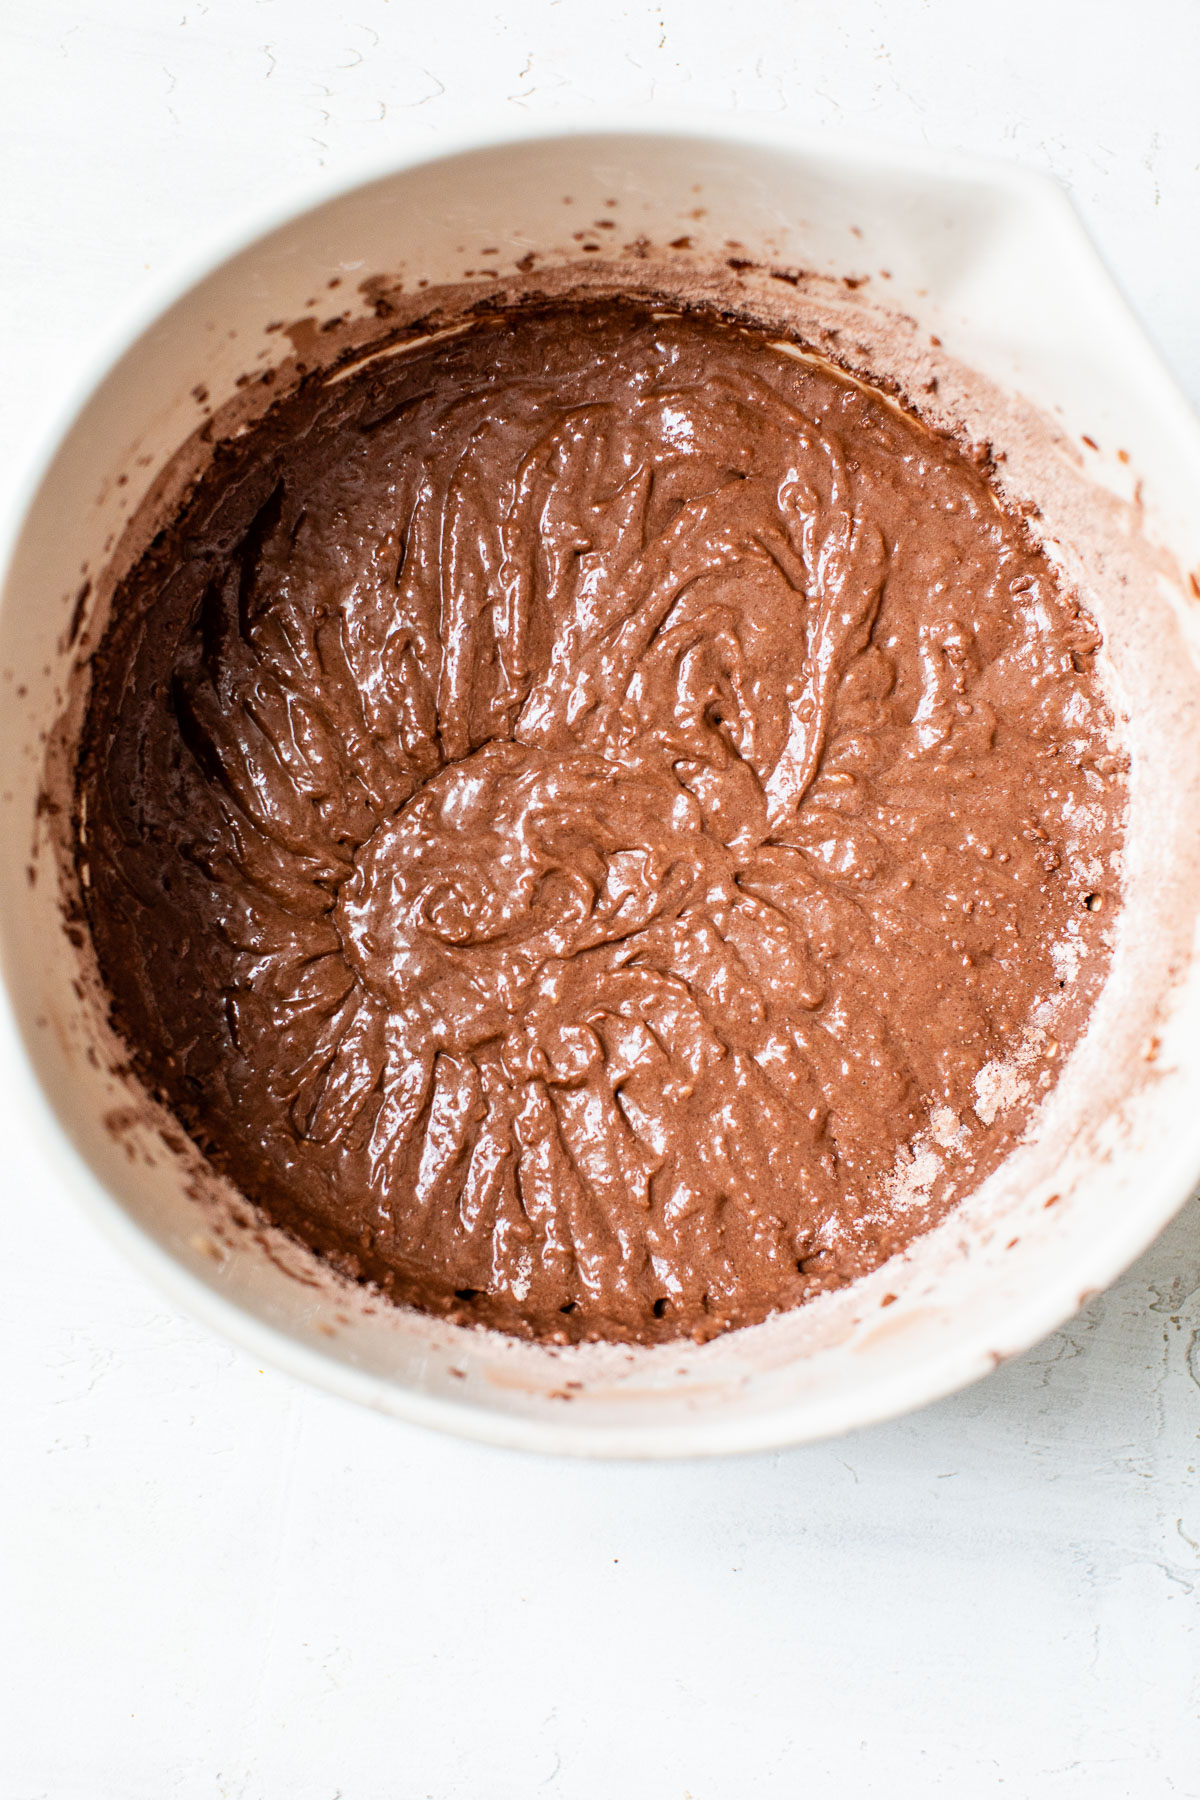
Step 3: Add the batter, then bake. Pour the batter into a greased or parchment-lined 8″ round cake pan, then bake the cake for 35 minutes or until a toothpick comes out clean. Wait 10 minutes before carefully inverting the cake onto a cooling rack.
Step 4: Make the icing. The final step is to whisk the tea and butter together, then add the powdered sugar until the icing is smooth.

Tips and tricks
-Make the hibiscus tea ahead of time; it’s going to work best if the tea is cooled either to room temperature or if it’s been chilled in the refrigerator overnight (rather than it being hot).
-For a really pink icing, you may need to add 1-2 drops of red food coloring.
-The recipe calls for salted butter; if you’re using unsalted butter, make sure to add 1/4 tsp of salt in with the dry ingredients.
What are the health benefits of hibiscus tea?
Like many teas, hibiscus tea contains plenty of antioxidants and may help lower blood pressure. To be honest, combining tea with butter and sugar kind of negates the health benefits, but that’s beside the point 😉
How should this cake be stored?
Cover the cake with foil and store it either at room temperature for 1-2 days or in the refrigerator for up to 3 days. With that said, all cakes taste best if consumed within 24 hours (in my opinion!).

More delicious cake recipes
If you made this recipe, be sure to leave a comment and star rating below. Thanks!
Chocolate Hibiscus Cake

Ingredients
- 1 cup all purpose flour
- 1/4 cup cocoa powder
- 1 tsp baking soda
- 1/4 tsp baking powder
- 3/4 cup cane sugar
- 1/4 cup salted butter, dairy free, softened
- 3/4 cup almond milk
- 1/4 cup applesauce
- 1 tsp apple cider vinegar
- 1/2 tsp vanilla extract
for the icing:
- 1 tbsp salted butter, dairy free, softened
- 3 tbsp brewed hibiscus tea, chilled or cooled to room temperature
- 2 cups powdered sugar
Instructions
- Preheat oven to 350°.
- Combine flour, cocoa, baking soda, and baking powder together in a bowl and set aside.
- In a separate bowl, cream butter and sugar together and then add the milk, applesauce, vinegar and vanilla; whisk to combine.
- Add wet and dry ingredients together and stir to combine, preferably with an electric mixer.
- Line an 8" cake pan with parchment paper (or grease with coconut oil), then pour the batter into the pan. Bake the cake for 35 minutes, or until a toothpick comes out clean. Wait 10 minutes, then carefully invert it into a cooling rack. Wait until the cake has completely cooled before icing it. While the cake is cooling, prep the hibiscus tea.
for the icing:
- Brew a batch of hibiscus tea according to the instructions on the package. Allow the tea to come to room temperature, or chill in the refrigerator for at least 1 hour (or overnight).
- Whisk the butter and tea together, then add the powdered sugar and blend until the icing is smooth.
- Place a large dollop of icing on top of the cake, then use the back or a spoon or a spatula to smooth the icing on top of the cake. Enjoy!
Notes
Nutrition
UPDATE NOTE: This post was originally published in September 2017. It was updated with new text and photos in February 2021.


I came across your hibiscus 🌺 chocolate cake recipe and I am looking forward to making it. I will be adding beets to mine one, gluten-free flour and stevia instead. Thanks for sharing your recipe✅
Nice! When you brew the tea do you do so with the sugar?
Or do you do it plain?
hi! It’s in step 7 of the instructions, but you’ll want to brew the tea separately them add it in with the icing.
I’d like to know if the hibiscus tea gives the icing that violet color. Also, what was on top of the icing. It’s lovely and looks like
Potpourri. I’d like to replicate it for a function l’m going to. 💮
Hi! yes, the brewed hibiscus tea is what gives the icing that coloring, and I placed hibiscus tea leaves on top of the cake for the photos, but I don’t recommend actually doing that as you can’t eat the leaves (I mean, you can… but they’re not super tasty).
I will make a dairy version out of it. Looks divine. I’m looking forward to my baking session at the weekend.
So I can totally eat the whole thing then right? 😉 I LOVE the thin layer of frosting on this. What a lovely color too!
Um YES–that’s the whole point of a mini cake, right? 😉
BEST CHOCOLATE CAKE EVER!!! I cannot say enough good things! The cake was perfectly moist and dense. It was amazing! Im usually more of a chocolate on chocolate kinda gal, but the combination with the hibiscus frosting was fantastic! Thank you for sharing this recipie! BRAVA!!!! My sister and I are OBSESSED!
Thank you for this kind comment!! I’m so glad you like the cake 🙂