This post may contain affiliate links. Read our disclaimer.
I’m going to go where The Almond Eater has never gone before…… I’m going to do a DIY “how to” post. AHHHH. I figured after I showed off my new photo board in this post that it might be helpful to show you how to go about making one 🙂 There are several ways to make these type of boards, but I like to think this way is the easiest because it doesn’t involve any tools. NONE. You may be shocked to know that me+hammer+nails=disaster. Also, I’m not usually into crafts and DIY type things. In fact, in most cases I would rather pay a little extra and have someone build something for me/buy something that’s already built rather than doing it myself, but this board is SO easy I would have been mad if I didn’t make it myself.
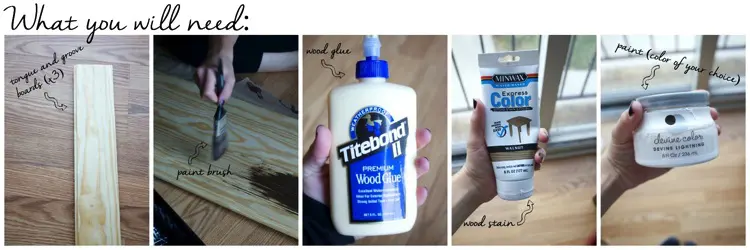
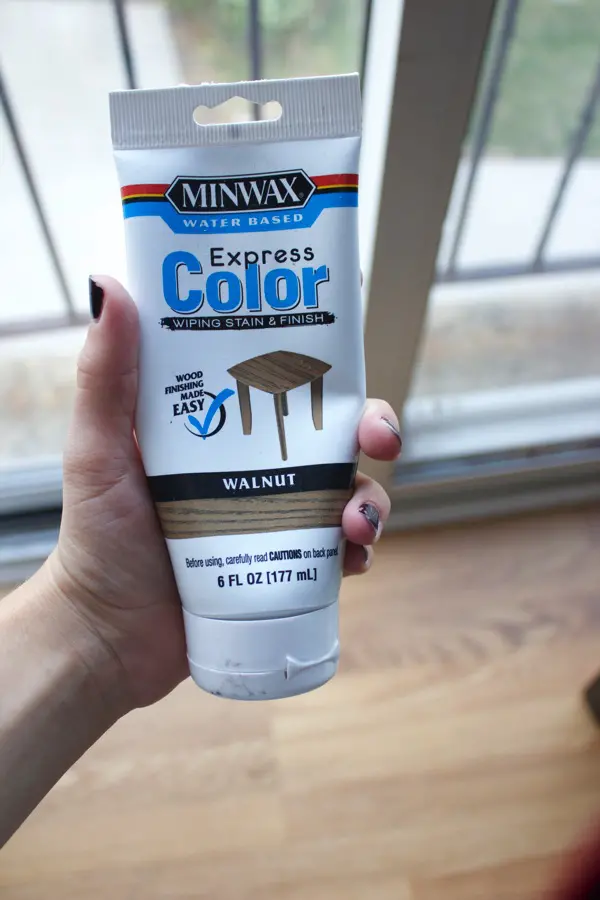
Here is a brief overview of the supplies you’ll need to purchase in order to make your own food photography board:
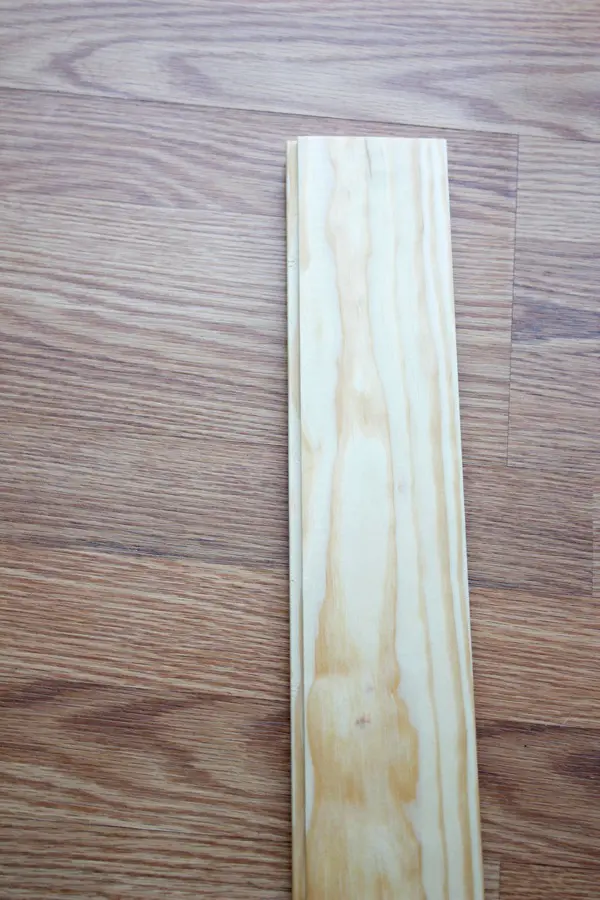
The first thing you’re going to want to do is go to the nearest Home Depot and purchase tongue and groove planks. If you can’t find them, just ask! Home Depot employees will most likely be able to find them more quickly than you will. …..not that I’m doubting you, because I’m not.
Once you find the right boards, be sure to get a Home Depot employee to cut the wood for you. I grabbed three 8’ boards and cut them in half, creating six 4’ boards. HOWEVER, feel free to cut yours to whatever size you desire.
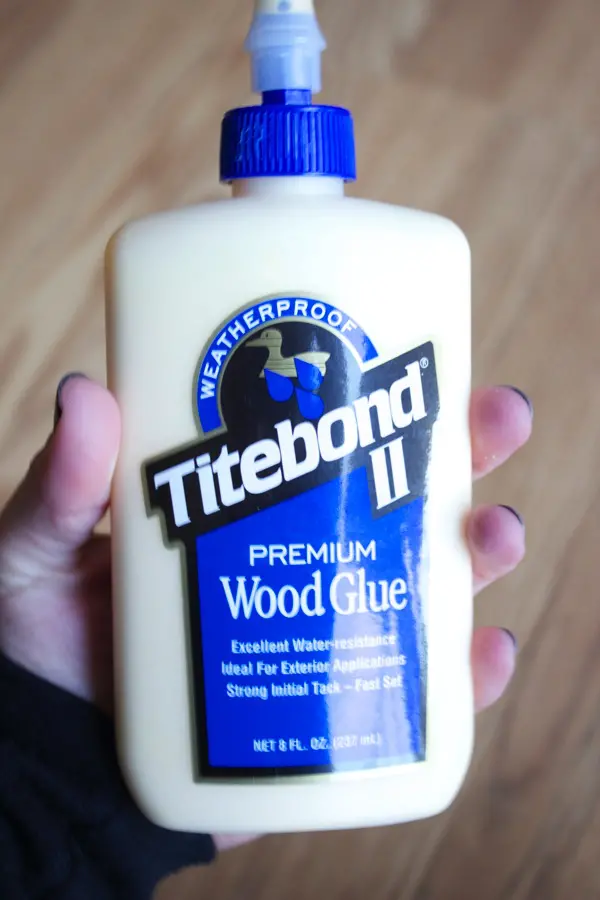
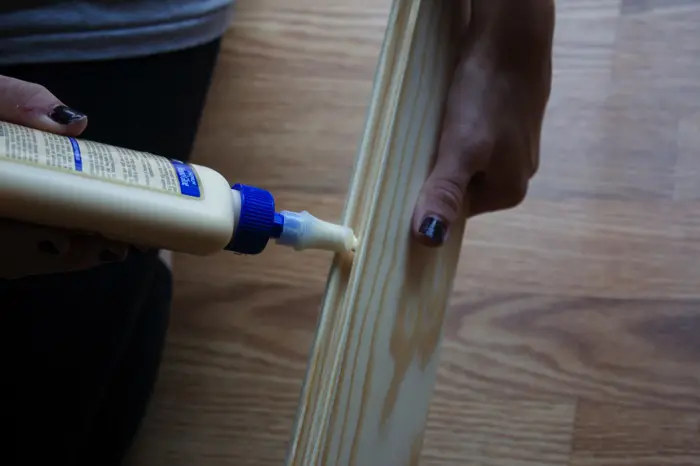
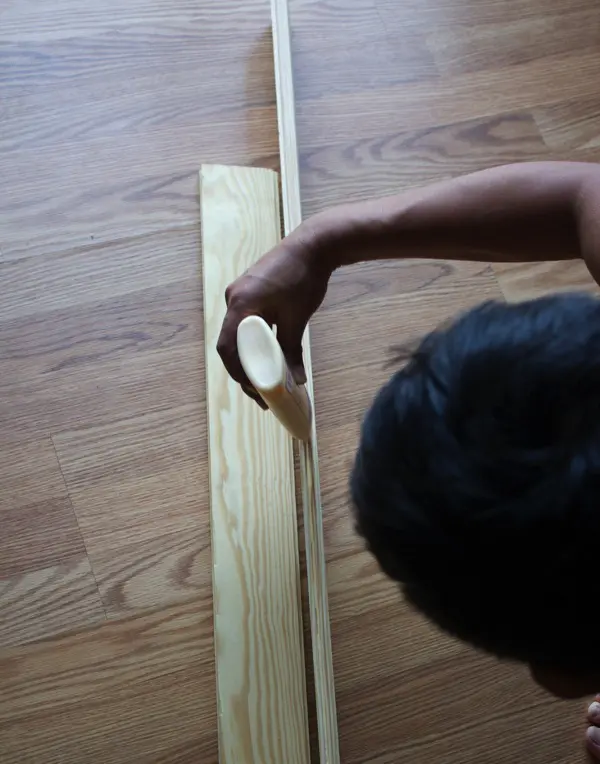
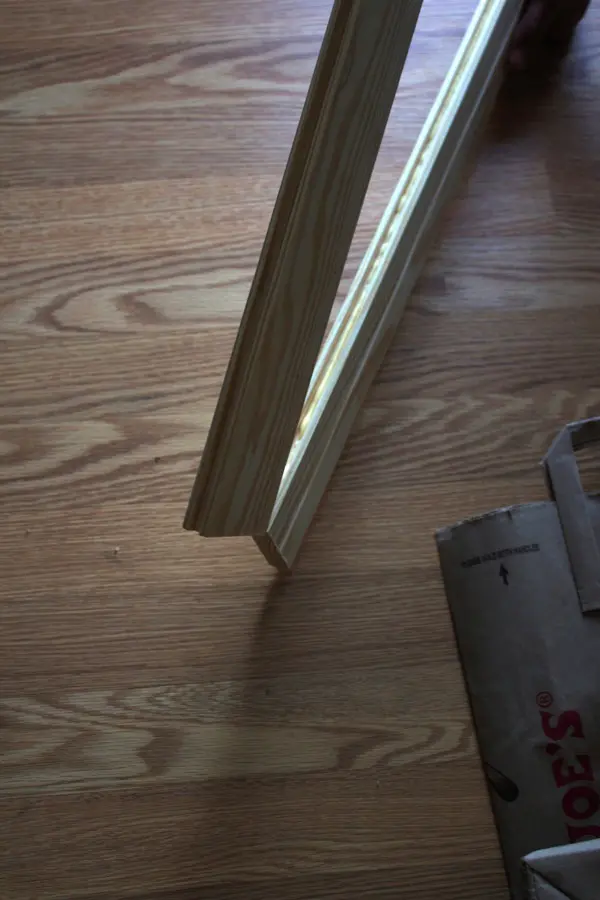
You will place the wood glue inside of the groove and, when properly aligned, both boards should fit into one another perfectly—no tools required! The glue is conveniently located in the same aisle as the wood—woohoo!
It’s most helpful if you have someone with you to help glue the boards together, unless you cut them smaller than I did, which in that case, it may be doable on your own. Place the glue inside and then place the one board’s “tongue” into the other board’s “groove”.
Be sure to use a paper towel to wipe away any excess glue.
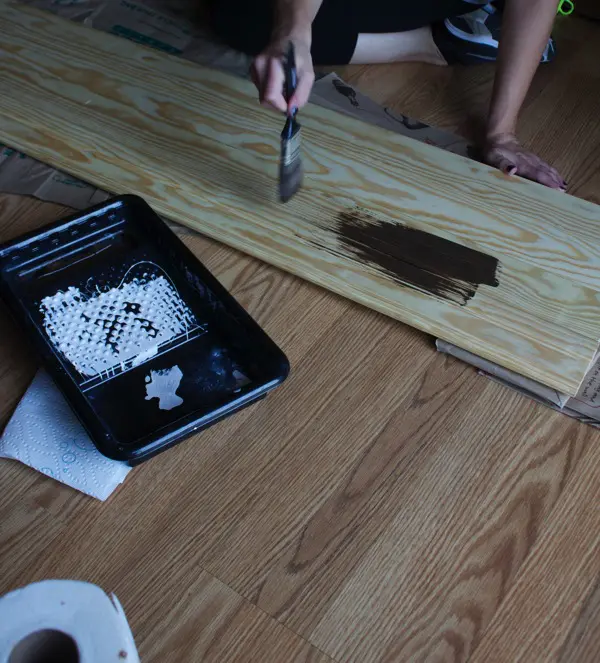
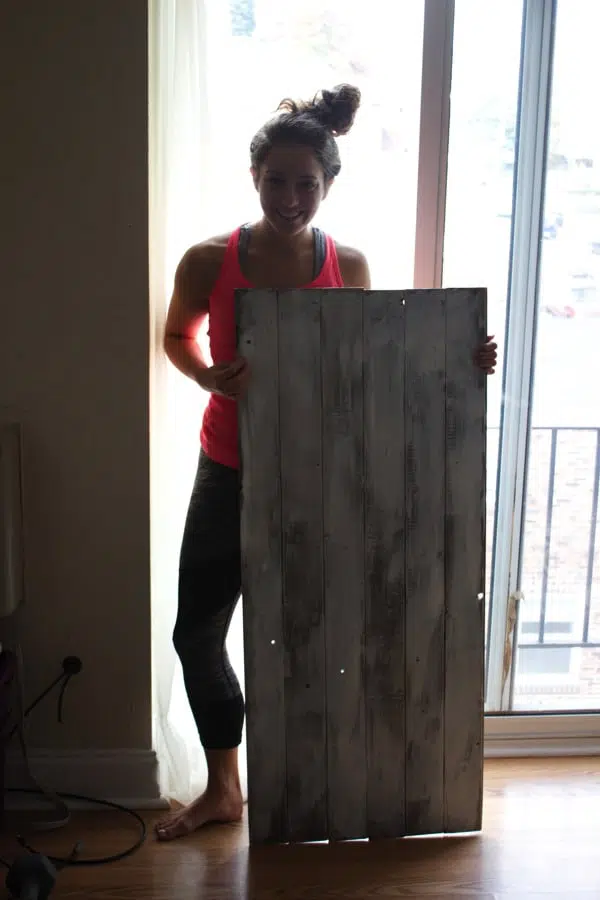
Wait a few minutes for the glue to dry, and then paint a thin layer of the stain overtop. After that, wait 10-15 minutes and then paint the actual paint overtop. In order to get that “rustic” or older look (if that’s what you’re going for), my suggestion is to paint as though you are the complete opposite of a perfectionist. You want some of the brown stain to show through, but you also want the color to show. So, in my case, I painted the brown stain on, waited 10 minutes or so for it to mostly dry, and then sloppily painted a white coat overtop.
Viola! It is THAT easy. And, if you’re really feeling awesome, buy two different paint colors so you can paint a different color on either side. Sort of like two for the price of one…. sort of.
This is what my final product looks like in action….
This is a preview of a recipe that’s coming next week… stay tuned!
YAY. Hopefully this was helpful. *Note: Everything together cost me approximately $30. This cost covered the wooden boards, the wood glue, the stain, paint and paint brushes. If you want to learn more money-saving tricks to improve your blog, check out my eBook on food photography & styling.
Q: Are you a DIY-er?



Anchell Workshops says
Wow! I love DIY stuff! Thanks for guide!
Claudette says
Your board turned out awesome! I love DIY projects so I'm definitely going to try this and experiment with colors. Thanks for sharing!
Margaret @ youngandrungry says
I was about to ask for a really expensive backdrop for Christmas, but yours looks WAY better and WAY less expensive! And I can't believe how easy this will be after I buy the supplies today! Thanks for the great resource and my boy friend probably thanks you too since I won't be asked for the $$$ one anymore!
Erin says
Yes!!! It's so much cheaper and a really simple DIY. Let me know how it turns out 🙂
Rachel says
Wow this is awesome!!
GiselleR @ Diary of an ExSloth says
Went to home depot last night and got the stuff. Finally making this happen today 😀
Erin says
Yaaaay! I'll be looking forward to seeing it in your posts 🙂
Jess @hellotofit says
Just googled this post after seeing what Georgie referred to on the Facebook group. Great tutorial - I tend to use our outdoor deck for my food pics, but this would be great to use, too!
Gabriella Susanto says
Hi Erin! Thank you SO MUCH for this post! I am actually reading this and painting my very first wood board at the same time! i just started food blogging last December and came across your site just now 🙂 I was confused about how to paint the board and using what colours first to get that rustic old finish. thank you for this post, it's very helpful! Can i ask you what's the plugin do you use to get the side pop-up box that appears on the right hand side corner of your post?
Erin says
Yayyyy I'm glad you're making your own board! They really come in handy. As for the Facebook box in the bottom corner.. I'm sorry I can't be more helpful. I actually had my web designer figure that one out for me because I'm clueless!
Tricia @ A Couple of Dashes says
It's so funny that you posted this because I was looking for this exact thing over the weekend for photos. Thanks for sharing! Yours looks great!
Erin says
Thank you! 🙂
Shashi @ RunninSrilankan says
Thanks oodles and oodles Erin - this is BRILLIANT!!!! And only $30 - thank you so much! I need boards in a bad way - I got a $3.00 scrap pice of wood I painted and have been using - but this looks so much better...
Erin says
It's so simple! $3 scrap wood sounds like a bargain though!
Shashi @ RunninSrilankan says
Thanks oodles and oodles Erin - this is BRILLIANT!!!! And only $30 - thank you so much! I need boards in a bad way - I got a $3.00 scrap pice of wood I painted and have been using - but this looks so much better!!
Miss Polkadot says
Where's the good-looking guy in my life ready to make this for me while I whip up the first meal to photograph on this later on? Totally cliché here but I have two left hands - shh, never mind that I'm left-handed - when it comes to this kind of projects. Hence why the white box that's been on my to-do list forever has still to come about ...
Cassie says
I need you to come to SF and make this for me because I am NOT a DIY-er. I have about 20 DIY projects I've thought about doing that I just... haven't. Whoops.
Kelly @ Trial and Eater says
You make it look so easy! I've been thinking about doing this so thank you for the tutorial 🙂
Erin says
It is so easy 🙂