Thumbprint Cookies with Icing
This post may contain affiliate links. Please read our disclosure policy.

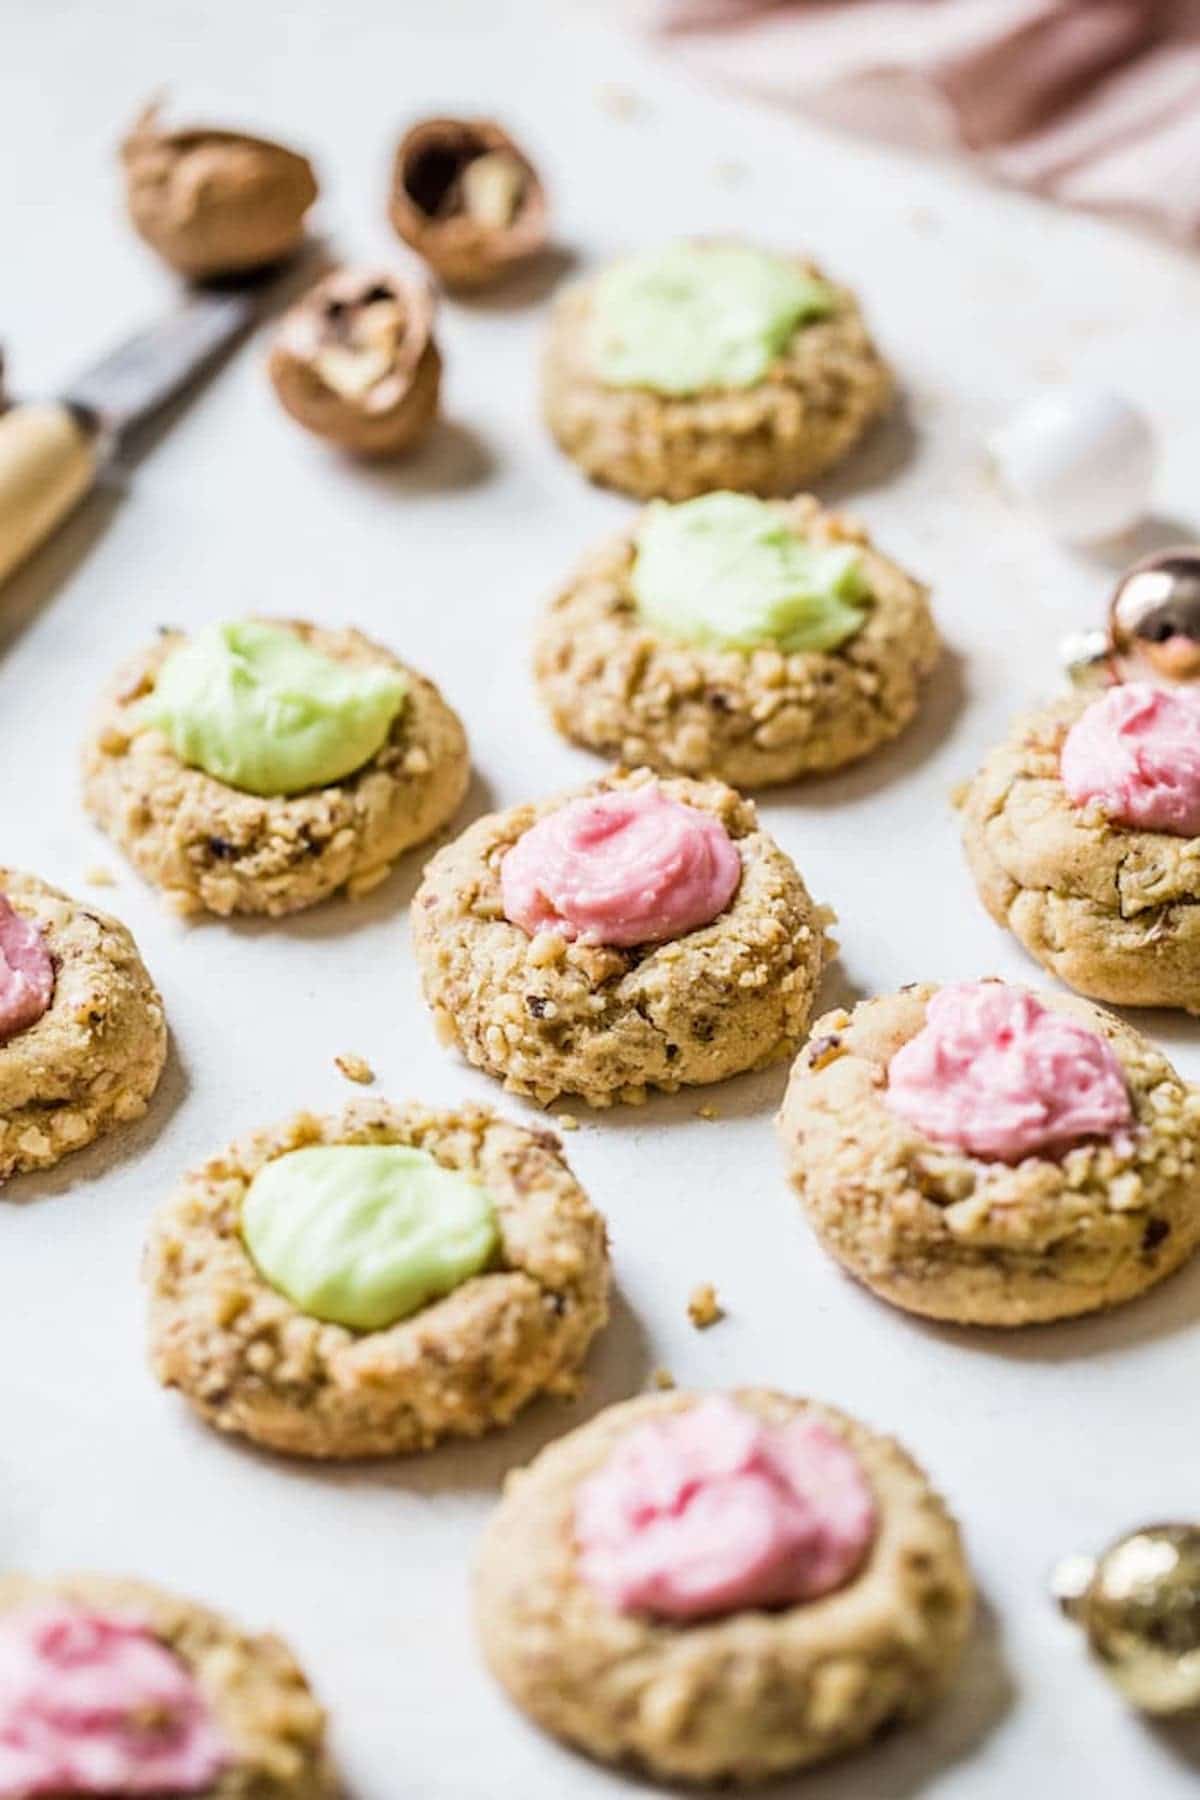
These Thumbprint Cookies with Icing are topped with walnuts, filled with buttercream icing and are the perfect addition to your holiday cookie round up!

Why you’ll love this family favorite recipe!

Texture: The cookies themselves and soft and slightly crumbly in the best way.
Filling: Most thumbprint cookies are filled with jam, but these have buttercream icing instead, making them even more delicious!
Festive: Use a little food coloring for the icing to make these cookies extra Christmas-y.
Table of Contents
I feel like thumbprint cookies are a classic holiday cookie, don’t you? These walnut thumbprint cookies are a fun spin on the traditional recipe and they’re filled with ICING instead of jelly or jam.
If you can believe it, my mom used to make ten (!!!) different kinds of cookies, including buckeyes, cut out sugar cookies and these thumbprint cookies with icing. I don’t think this is her exact recipe, but it’s the same concept: thumbprint cookies rolled in crushed walnuts and filled with colorful buttercream icing.
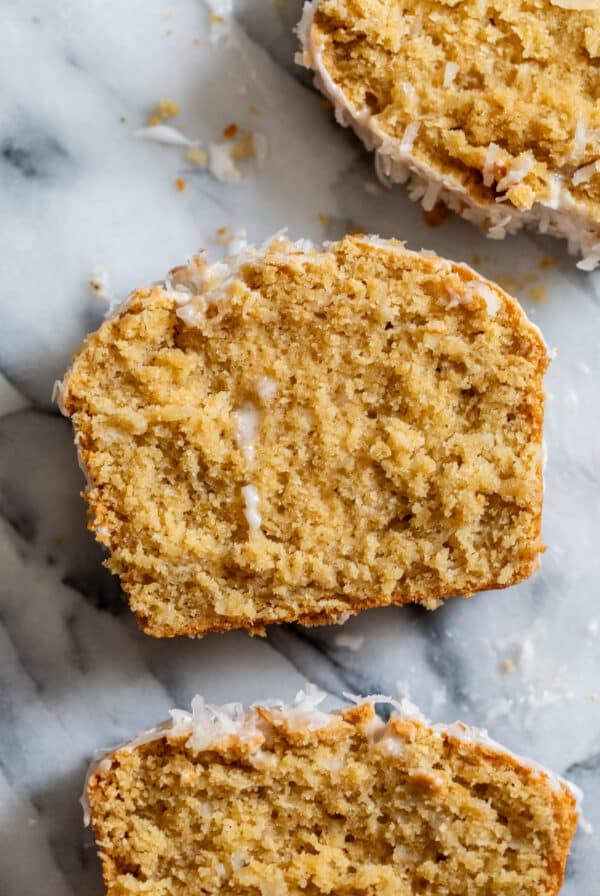
If you’re really in the holiday spirit, be sure to try my chewy coconut cookies and my chai thumbprint cookies — both are delicious!
Ingredients for Thumbprint Cookies

Flour – I’ve only tested this recipe using all purpose flour; if you want to make these gluten free, I imagine a gluten free 1:1 baking flour would work.
Sugar – Can sub cane sugar instead of brown sugar
Egg – Can use flax egg instead (1 tbsp flaxseed meal + 2.5 tbsp water)
Butter – I almost always use unsalted butter, and then manually add salt in. If you’re using salted butter, omit the added salt.
Walnuts – Technically optional, but they make the texture a lot better.
See the recipe card below for a full list of ingredients and quantities.
Instructions
Step 1: Grind walnuts. Place the walnuts in your food processor and pulse until they’re small and crumb-like, approximately 20 seconds.
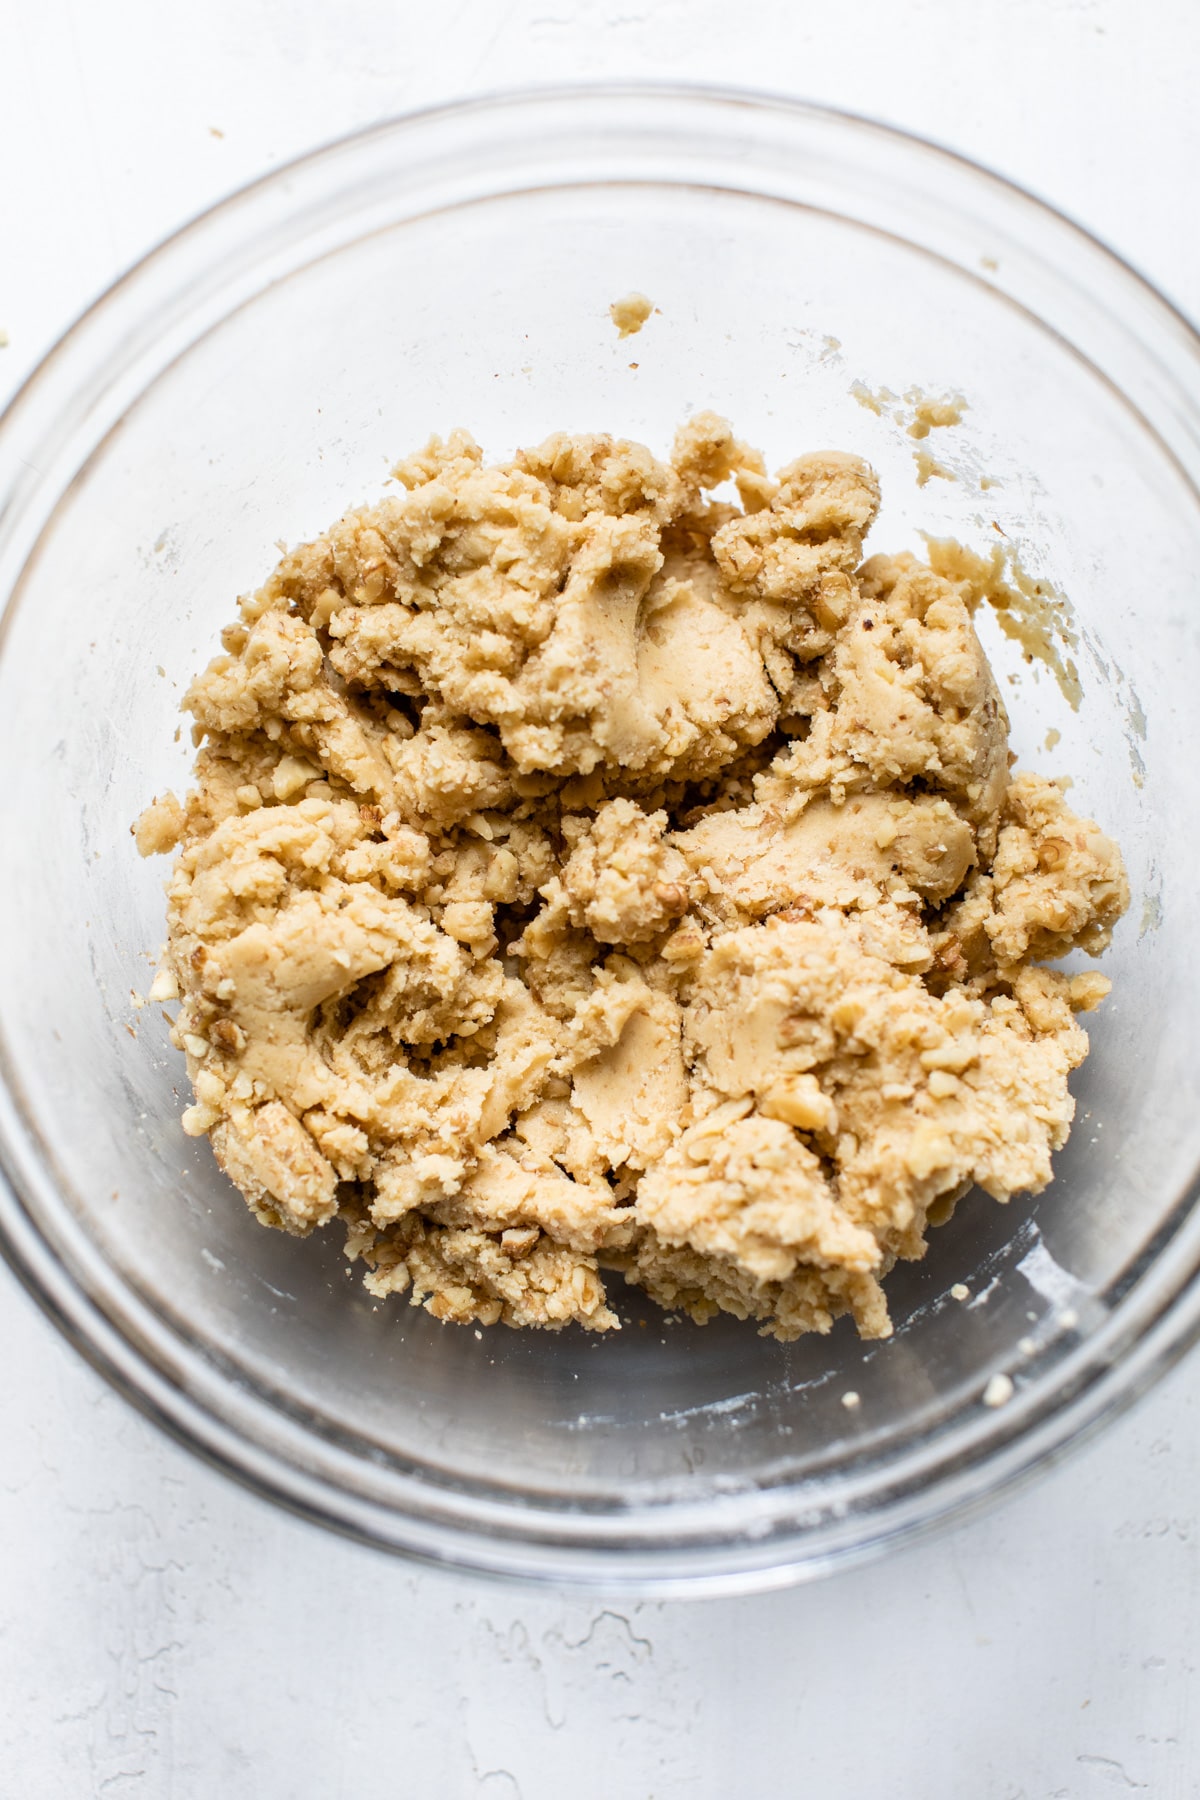
Step 2: Create cookie dough. In one bowl, stir the flour, baking soda and salt together. In a separate bowl, cream the butter and sugar, then add the egg and vanilla. Last, combine the wet and dry ingredients, then stir in HALF of the crushed walnuts.
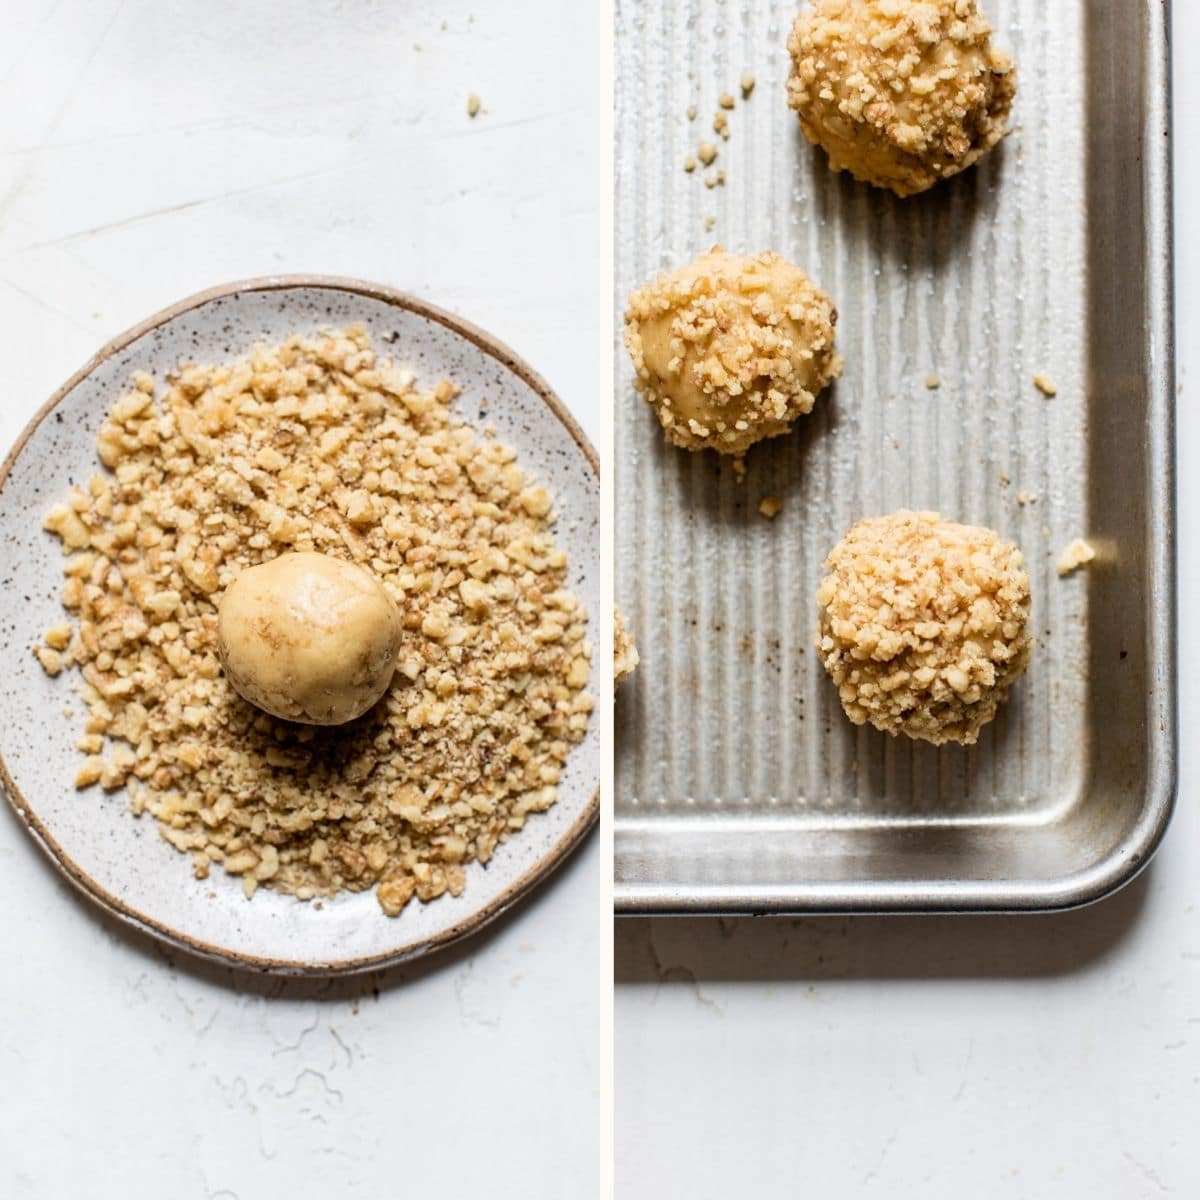
Step 3: Roll the dough. Once your dough is prepared, use your hands to form the dough into golf ball-sized balls, and then roll them in the crushed walnuts and place them directly onto a baking sheet.
Step 4: Bake. Bake the cookies for 10 minutes, then carefully remove them from the oven, and use your thumb to press a thumbprint into the middle of each cookie, then bake the cookies for 5 minutes longer.

Step 5: Add icing. Once the cookies have cooled, you’ll fill them with icing, either by piping the icing or spooning it into the cookies (shown below).

Erin’s tips and tricks
- Make sure use HALF of the walnuts in the actual cookie dough, and save the other half for rolling.
- I used a spoon and scooped icing into the center, but you can pipe the icing if you prefer—whatever you’re more comfortable with!
- To make these vegan: use 1 flax egg and vegan butter
My Pro Tip
Recipe Tip
After you take the cookies out of the oven the second time, use your thumb to ensure the hole in the center is large enough for the icing.
Nope! I almost never use food coloring, but it does help to make these cooking a little more festive.
Store them in an air-tight container at room temperature for up to 3 days. To freeze, wait for cookies to cool, then place them in a freezer-safe bag for up to 2 months.
More cookie recipes


If you made this recipe, be sure to leave a comment and star rating below. Thanks!
Thumbprint Cookies with Icing

Video
Ingredients
for the cookies:
for the buttercream:
- 1/4 cup butter, softened
- 2 tbsp milk of choice
- 2 cups powdered sugar
- A few drops red and/or green food coloring, optional
Instructions
- Preheat oven to 350°.
- Place walnuts in your food processor and pulse for about 20 seconds; set aside.
- In a large bowl, combine flour, baking soda and salt and set aside.
- In a separate bowl, cream butter and sugar together, then add egg and vanilla and stir to combine. Next, combine wet and dry ingredients. Be patient with this step — this could take 30-60 seconds until the dough comes together. If the dough is still too dry, add 1 tbsp milk.
- Stir HALF of the crushed walnuts (1/2 cup) into the dough. Roll dough into balls then roll the balls into the remaining crushed walnuts and place them 2 inches apart on a lined baking sheet.
- Bake cookies for 10 minutes; then, remove them from the oven, wait 1-2 minutes for them to slightly cool, and carefully use your thumb to press a thumbprint into the center of each cookie. Place cookies back into the oven and bake for an additional 3-5 minutes. Remove cookies from oven and onto a cooling rack.
- While cookies are cooling, make the buttercream. Whisk butter and milk together, then add the powdered sugar and stir until smooth. If you choose to add food coloring, do so as this time. Wait until the cookies have cooled before adding the buttercream.
- You may pipe the icing or simply use a spoon to scoop it into the center of each cookie.
- Enjoy!
Notes
Nutrition

UPDATE NOTE: This post was originally published in December 2018. It was updated with new text in October 2020.


So easy and tasted just like what my mom used to make. Really great recipe for thumb prints.
Thanks Debbie, I’m glad you liked the cookies!
My Mother baked at Bi-Lo Supermarket in Aurora, IL., she made these thumbprint every Christmas. I made them they look Great, my wife says there big, I told her to eat just a half
This recipe is great! The cookies come out perfect every time! I use the back of a round 1/2 tsp measuring spoon to make the thumbprint. That way, I don’t have to worry about burning my thumb.
That’s a great idea! Glad you like the cookies 🙂
Delicious
Can I use a wine cork
Sure!
Directions were easy to follow, and make the most amazing cookies! Thank you so very much!
Thanks Carol — I’m so glad you liked them!
I’m going to freeze these and add the icing when I’m thaw them for use.
That’s a great idea!
I’m so disappointed! The dough was perfect and I loved not using egg whites! But they spread and are so flat. I’m so bummed! The dough was perfect!
Thank you for this recipe!
I’ve seen similar recipes. I haven’t tried this yet though. In all the other recipes, they roll the dough balls in egg whites first before putting them in nuts. Is there any difference in the taste of the cookie if you don’t do this as in your recipe?
You can roll them in egg whites if you prefer! I’ve made them several times without the egg whites and the nuts still stick to the dough though, so it’s not 100% necessary.
Got a similar recipe from my mother-in-law about 57 years ago. They were called clothespin cookies ( just take the rounded end of a clothespin and press in the middle). And each little ball was dunked in whipped egg whites and then walnuts or pecans. I always added almond to the buttercream! These are my family favorites!
I got a similar recipe from a friend over 50 years ago. Only thing she did different was in her buttercream, she would use leftover juice from a can of peaches or pears.