Food Photography Set Up+Fav Props
This post may contain affiliate links. Please read our disclosure policy.
Two weeks ago I discussed my Food Blog Essentials and, following along that track, today I want to discuss my shooting set up and some additional food props that I’ve found to be helpful.
I was browsing the internet back in December when I stumbled across Ali’s blog, Gimme Some Oven, and, more specifically, her Blogging Resources section. I read that section—all of it—and found it super helpful, especially getting to see her set up for photos (have you seen her photos??! AMAZING). I think every food blogger has his or her own way of setting up before a shoot, and since I’m nosey I like seeing how other people set up. One of the main takeaways was that she uses a step stool to help her get overhead shots, and she has a cart beside her to store her food props on.
After reading her post I recall telling Miguel that I, too, wanted a step stool and a cart for my props. Lo and behold I received both of those things, and I’m not bragging about Miguel, but he did a GREAT job picking them both out.
Food prop cart

If I’m being honest, I would say this prop is only necessary if you have an abundance of food props. HOWEVER, if you want to improve your photos and provide variety to them, then you will inevitably have a lot of food props. What better way to store them than on a utility cart? I have cups and napkins on the top, plates and some silverware on the second shelf, and extra backdrops on the bottom. The only reason I have them stored this was is so my pup doesn’t eat the napkins (i.e. I used to keep them on the bottom shelf and she started chewing them). I quickly learned my lesson. However you decide to organize your props, this cart is a handy and portable way to store them.
Step stool

As I already mentioned, step stools are great for capturing overhead shots. This particular stool has three steps for varying heights, which I find super helpful. I once read that photos are all about the angles. Rather than staying in the exact same spot for the entire photo shoot, it’s good to move your body around to capture the food from different angles. The step stool allows me to do so but from different heights as well. Woohoo!
Favorite props

I mentioned my Food Blog Essentials a few weeks ago, and in the list I included food props. However, the ones I included were a few plates, glasses and bowls. Yes, those are the essentials, but once you have the essentials for awhile, you’re going to want to expand by adding a few other pieces to your collection. Like what? Well, some of my favorite nonessential food props are a silver platter, colorful straws, antique tongs, colorful napkins, and a milk jug. If you’re looking to add some props to your collection, I’d recommend browsing through food photos you like and see what other food bloggers use. You may already have some ideas in your head of what you’re looking for, but it never hurts to see what other props look nice in photos.
And now for my set up! Please not that every shoot is different and therefore my set up varies, especially depending on the harshness of the light and the subject I’m photographing. For the most part, though, it looks like this:


This set up is not perfect, but it works considering the small size of my apartment. In order to improve my set up, I’m hoping to acquire a tripod and additional reflectors to help make the process even smoother. But, this is what my set up looks like and it works for me! Setting up next to a window is necessary so I’m able to acquire as much natural light as possible, and hanging a sheer curtain over the window helps to diffuse any harsh light that may be coming in. Yes, I could just adjust settings on my camera, but hanging the curtain is a simple way to diffuse light. Before I bought the curtains I used to hang a bed sheet over the window before taking my photos. It wasn’t the classiest, but it worked!
Having the prop cart nearby is a must so I’m able to switch out props if and when necessary, and while the step still isn’t necessary, it certainly does help me easily capture my food at various angles.
As for the reflector, you can use a variety of different things, such as white foam board or white cardboard as pictured above. Whatever you decide to use, I highly recommend a reflector. A reflector allows the natural light to bounce onto your subject. Say whaaaat? Take a look at these two photos…

The photo on the left is much darker because a reflector was not used, versus the photo on the right, which is much brighter (naturally!) because a reflector was used. How cool is that? Easy peasy I tell ya!
Aaaaand if you read this post then you should already know how I feel about photography backdrops. In short, I love them I love them and I want more of them.
Phew, sorry for the novel. Hopefully your nosey self found at least some of this helpful. Don’t worry, I’m nosey too 🙂 Oh, and if you’re looking to improve your photography in general, both Dana from Minimalist Baker and Lindsay from Pinch of Yum have wonderful resources.
Q: Do you have a specific set up when you take food photos? Any recommendations of things I should add to my set up? I’m always on the hunt for ways to simplify!
***This post may contain affiliate links which won’t change your price but will share some commission.


Even though there are few things I miss about developing recipes (except having the TIME to develop said recipes), I really miss doing food photography. It was such a challenge for me and I loved it when my photos came out well. I never thought about getting a step stool, but that is absolutely brilliant! I’m hoping to invest in a fancy camera soon and maybe I’ll start shooting food again. All of your pictures are gorgeous and I’m so impressed with how much you have improved (can you believe we’ve been blogging for as long as we have?!)! You’re a professional now girl!!
Haha maybeeeeee…thanks so much Amy! You’re going to have so much fun with your fancy camera if and when you do get one 🙂
Oh my gosh – 10 times more put together than my set up! Love it!
The link to the step stool isn’t working for me.. but I need one 🙂
THANK YOU. I have no idea why it wasn’t working…wahhhhh! It’s working now, and yes, the step stool is super useful!
Again, thank you for all your photog info! Again, I doubt I use it, but in the small chance that I do I will be coming back to YOU for all my resources! Keep bouncing that light yo!
Hahah I shall–thanks Chris!
I never knew a standard white foam board would work. Thanks!
You’re so dedicated, creative and talented!
Awww shucks–I’m blushing 🙂
I’m always on the look for ideas and tips to improve my food photography. This is a superb post! 🙂
Thank you and thanks for stopping by!
Erin – I <3 this post!!!! It is packed with sooooooooo much useful info – I wanted to comment like an hour ago but I got lost stalking out Gimme some oven and the minimalist baker – thank you so so much! I have been struggling to find my perfect set up – lately it's been all over the house! GAH!
Thank you!! Definitely check out Ali and Dana’s blogs if you haven’t already–suuuuuper helpful stuff!
I love this! I just try to get as close to the natural night as possible when I take food photos.
i think we are food prop twins, really! I have all those. Let’s go shoooting! hehe.
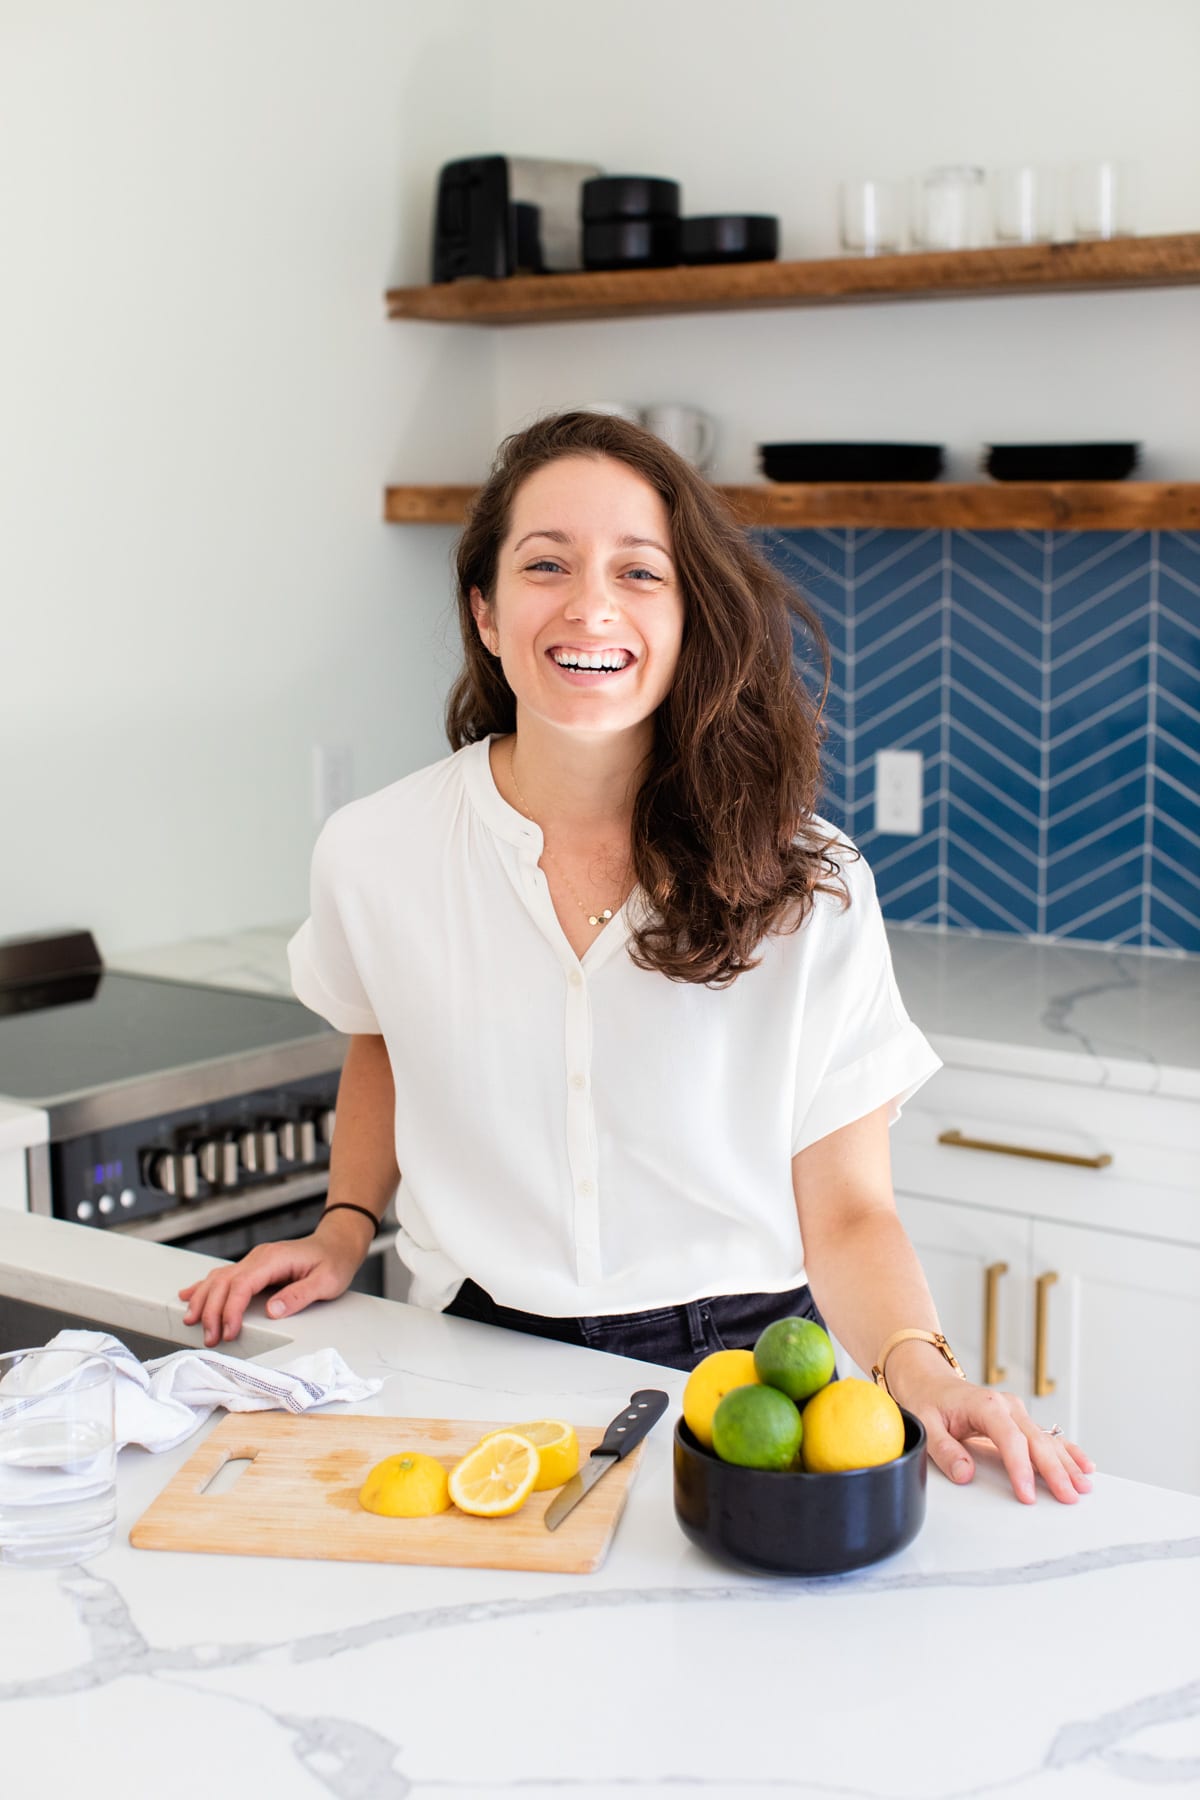
I love your new sidebar picture! It might not be super new but I usually read in the app and miss out on the websites 🙁 Love it, t hough. This post was very helpful! I don’t have much of that stuff but I’m not a huge recipe blogger. I should rework on posting my photos from recipes I’ve done in the past that are SO beyond embarassing!
No I just uploaded it 2 days ago–thank you!